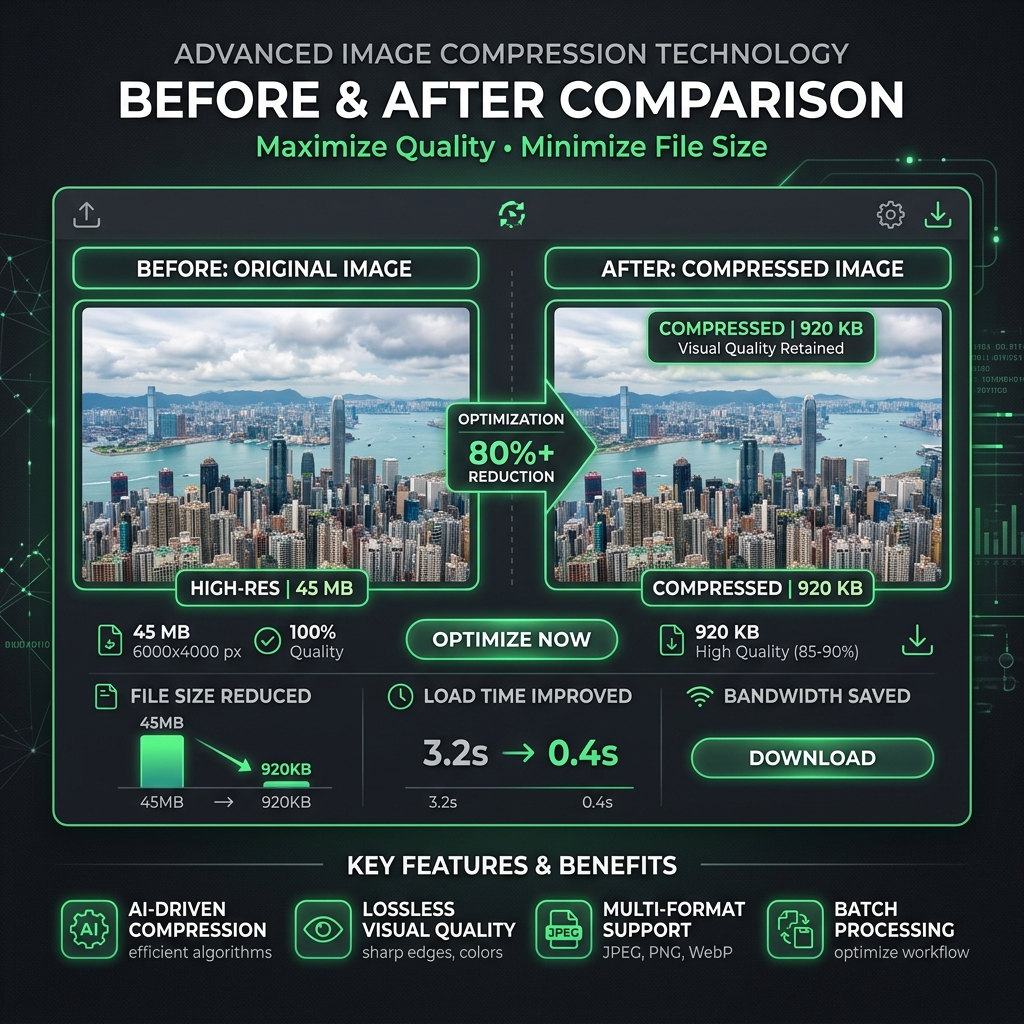
The holy grail of web performance is finding the perfect balance between beautiful, high-resolution imagery and fast-loading web pages. Many people believe that compressing an image always means making it blurry or pixelated. This is a myth.
With the right techniques and tools, you can drastically reduce file sizes without any perceptible loss in quality.
Understanding Image Formats
Before you can properly compress an image, you need to use the right format for the job:
1. JPEG / JPG
Best for photographs and complex images with millions of colors. JPEGs use lossy compression by default, meaning they discard data to save space. However, setting the quality slider between 80% and 85% usually yields a massive file size reduction with zero noticeable difference to the human eye.
2. PNG
Best for images requiring transparency or graphics with flat colors and sharp lines (like logos and charts). PNGs use lossless compression. While they result in larger file sizes than JPEGs, they will never become pixelated through compression.
3. WebP
The modern standard. WebP supports both lossy and lossless compression, as well as transparency. It typically provides 25% to 35% smaller file sizes than JPEG and PNG at equivalent quality.
Techniques for "Lossless" Perception
When we say "compressing without losing quality," we usually mean perceptually lossless. The file loses data mathematically, but our eyes cannot tell the difference.
1. Strip Metadata
Every photo taken with a smartphone or digital camera contains EXIF data (camera model, location, timestamp, shutter speed). Stripping this data can reduce file sizes by 5-10% without touching a single pixel of the actual image.
2. Proper Sizing
The biggest mistake web developers make is serving a 4000x3000 pixel image and using CSS to display it at 400x300. You should always resize the actual image file to match its maximum display size before applying compression.
3. Smart Compression Algorithms
Modern compression tools use smart algorithms that analyze the image and apply heavier compression to areas with less detail (like a clear blue sky) while preserving areas with high detail (like a person's face).
Using the Vyrobox Image Compressor
Our Image Compressor utilizes a smart compression algorithm designed specifically to find the sweet spot between file size and visual fidelity.
- Upload your image.
- Select your format. (We recommend PNG for logos, JPEG for photos).
- Adjust the DPI / Quality slider. For photos, 85% is the magic number.
- Download.
It is entirely client-side, meaning your images are processed instantly on your device using your CPU, guaranteeing 100% privacy and zero limits.
By taking a few seconds to understand your formats and apply smart compression, you can keep your websites blazing fast and your imagery stunningly sharp.